Transitions are easy to overuse and just as easy to underuse. Here is how working editors think about them.
The hard cut is still king Most of the time the right transition is no transition. A clean cut keeps energy and trust your story.
Dissolves: time passing, emotion shifting Use dissolves to compress time, soften a moment, or transition from one emotional beat to another. Keep them short — usually under 20 frames.
Whip pans, light leaks, glitches Pattern-based transitions belong to a specific genre: vlogs, sports, music videos, fast-paced commercial work. They are flavor, not glue. One per minute is plenty.
Audio transitions matter more than video A constant power crossfade on every audio edit hides 90% of audible cuts. Apply by default.
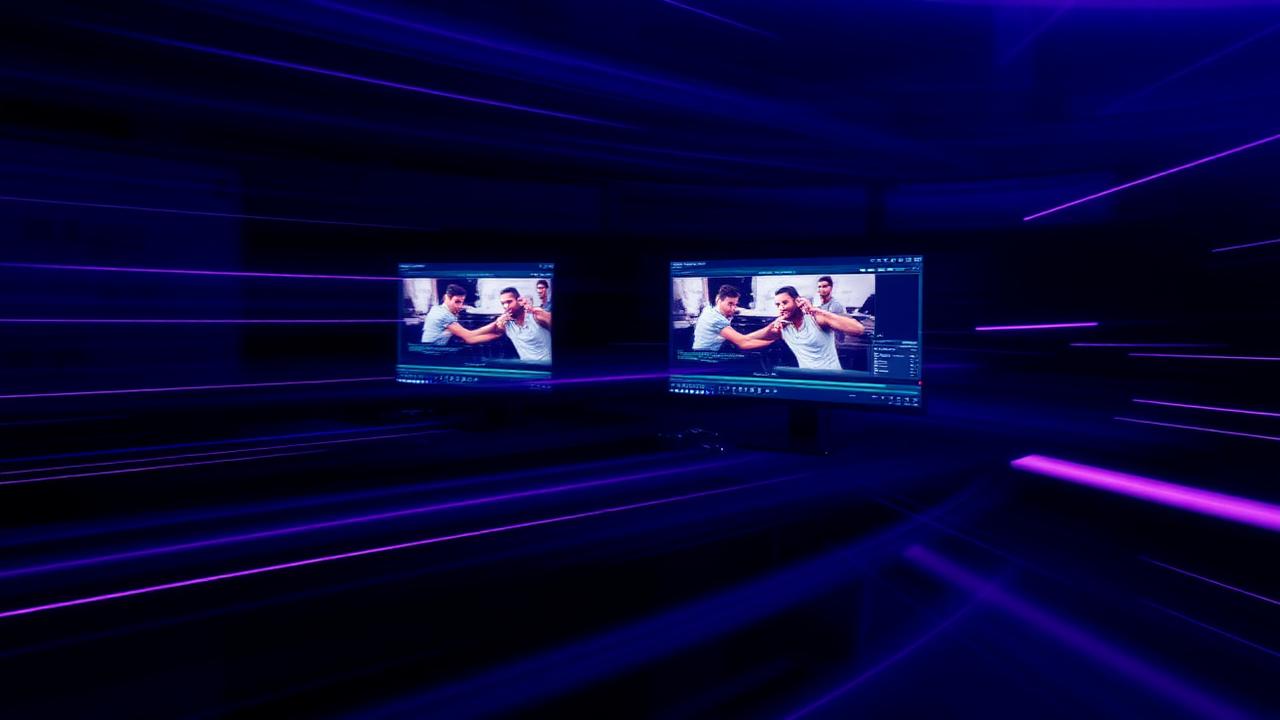
Apply transitions instantly Premiere ships with dozens of transitions and most third-party packs add hundreds more. With FXSeeker you can type "film burn", "glitch", "whip left" or any preset name and trigger it on the selected edit immediately — without ever opening the Effects panel.
The fastest editors do not know where every transition lives. They just know what they want and let the tool fetch it.